<center>
# How to Set Up a CI/CD Workflow, Part One: From GitHub Actions to AWS ECR
*Written by Cristian Vargas.
Originally published 2020-09-10 on the [Monadical blog](https://monadical.com/blog.html).*
</center>
Creating an optimal continuous integration and continuous deployment workflow is something I've wrangled with over the years, especially as DevOps has taken an increasingly central role in technology organizations [^modernDevOpsProcesses]. Setting up your CI/CD workflow can be a daunting task at first. There are millions of tools to choose from, and there's no definitive way to 'get it right'.
[^modernDevOpsProcesses]: The premise with modern DevOps processes is to empower the whole team to make meaningful contributions to the code without fear of breaking something, delivering code to production as often as possible. Your CI workflow will take every change to the code and test it against different scenarios, run linters, formatters, coverage, etc. It will make sure that everything follows organizational guidelines for quality, security, etc. The CD takes your tested code, and deploys it to an instance. The target instance depends on the organization, but it can be production, or a testing instance where the QA team can give it a final check before the final release. All of this happens in an automated way. This means that typically no intervention is required and resources that would be otherwise busy with this administrative overhead are freed up.
A popular approach is to use containers (mainly, but not restricted to, [Docker](https://www.docker.com/)) because they allow for reproducibility and scale relatively easily. You can isolate the bits you need to have your application running inside of the container itself and use a more general approach for the deployment and orchestration of the container. In this post, I’ll show you how to set up a basic CI workflow using GitHub and AWS, relying completely on managed services so you don’t increase your maintenance burden. At the end, you will have a Docker image as your artifact, which can then be picked up by another process to make the deployment.
[TOC]
You can do a lot with [GitHub Actions](https://github.com/features/actions), from linting to testing and building images. With [AWS Elastic Container Registry (ECR)](https://aws.amazon.com/ecr/), you can host your Docker images in a private repository, accessible only to your organization. This is really useful when an organization uses AWS for its infrastructure because it reduces network latency and complexity when integrating with other services in this cloud provider.
Google Cloud, Azure, and indeed Github themselves all provide private container registry services, so the ideas in this post can be extended to them too.
## Roadmap
To set up a CI workflow, there are several things you will need to do:
* Create GitHub Actions in the repository of interest
* Be able to build the containers in these actions
* Create an AWS ECR repository to hold the images
* Create an AWS user with permissions restricted specifically to ECR
* Connect GitHub Actions with AWS ECR
* Selectively tag and send the container builds to AWS ECR
So without further ado, let’s get started!
### How to create GitHub Actions in the repository of interest
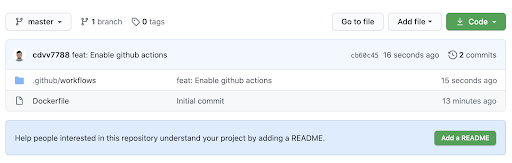
For this blog post, I will use a barebones [GitHub repository](https://github.com/cdvv7788/actions-and-aws-ecr):

It contains a single file: [Dockerfile](https://docs.docker.com/engine/reference/builder/). This file controls how the containers are built. I’ll be using the [nginx official image](https://hub.docker.com/_/nginx/) for this scenario, but you can use your own repository, with a working Dockerfile. In this case, my project uses a Dockerfile of one line:
```
Dockerfile
FROM nginx:latest
```
Locally, the command to build the image is simply:
```bash
docker build .
```
Now, back to enabling GitHub Actions for the repository. For this, you need to create a file under `.github/workflows` and add it to your repository.
For now, it doesn’t do much:
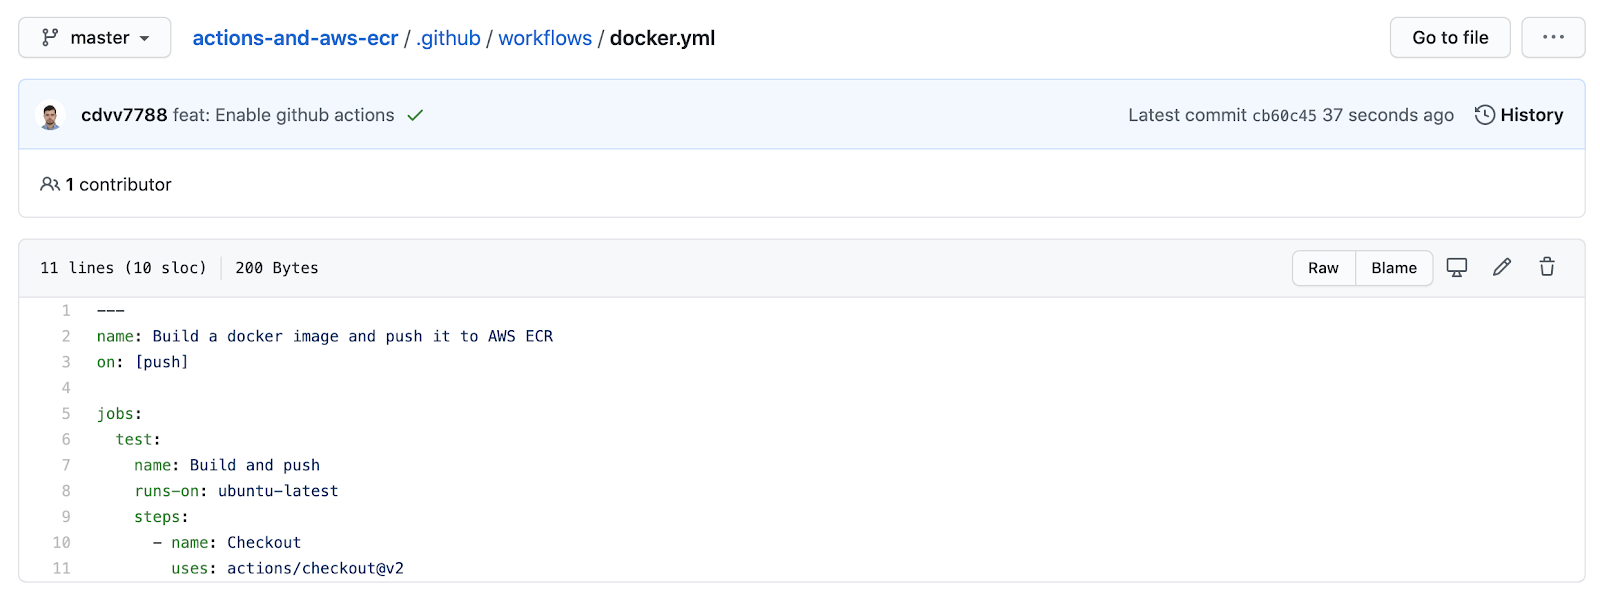
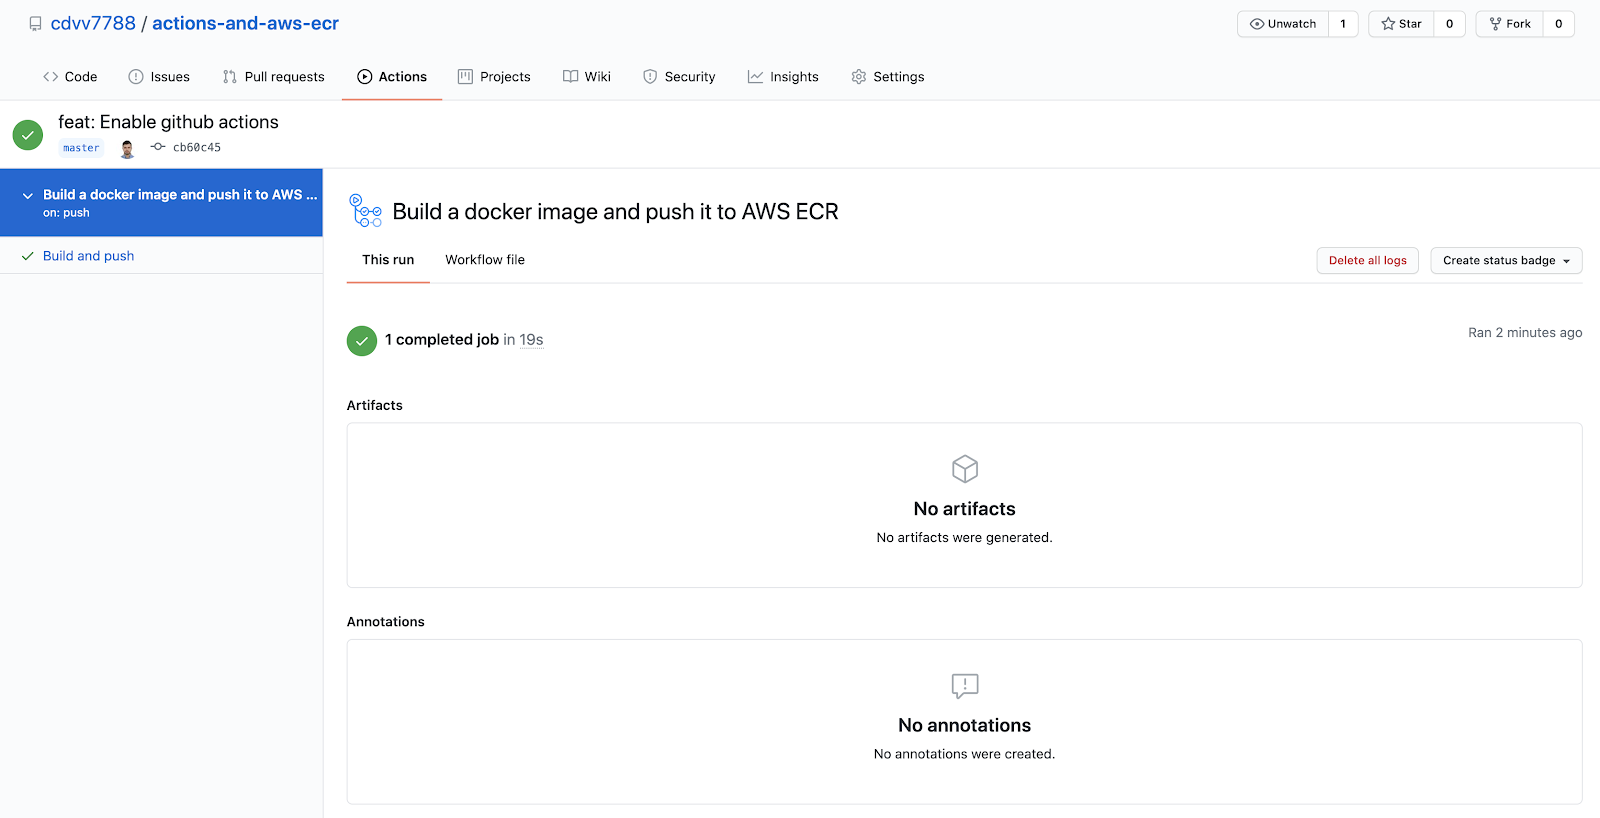
It just loads the current commit into the workflow, so you have access to it inside of your actions; it doesn't do anything interesting yet. However, if you go to the `actions` tab, you’ll see that it ran:
### Enable container building in Github Actions
Do you remember the command to build Docker images locally that I mentioned earlier? To build your image in GitHub Actions, all you need to do is run that command.
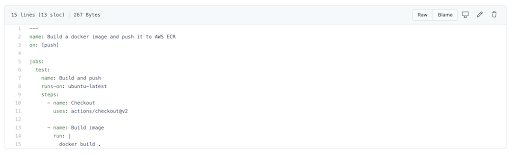
And after pushing, you get:
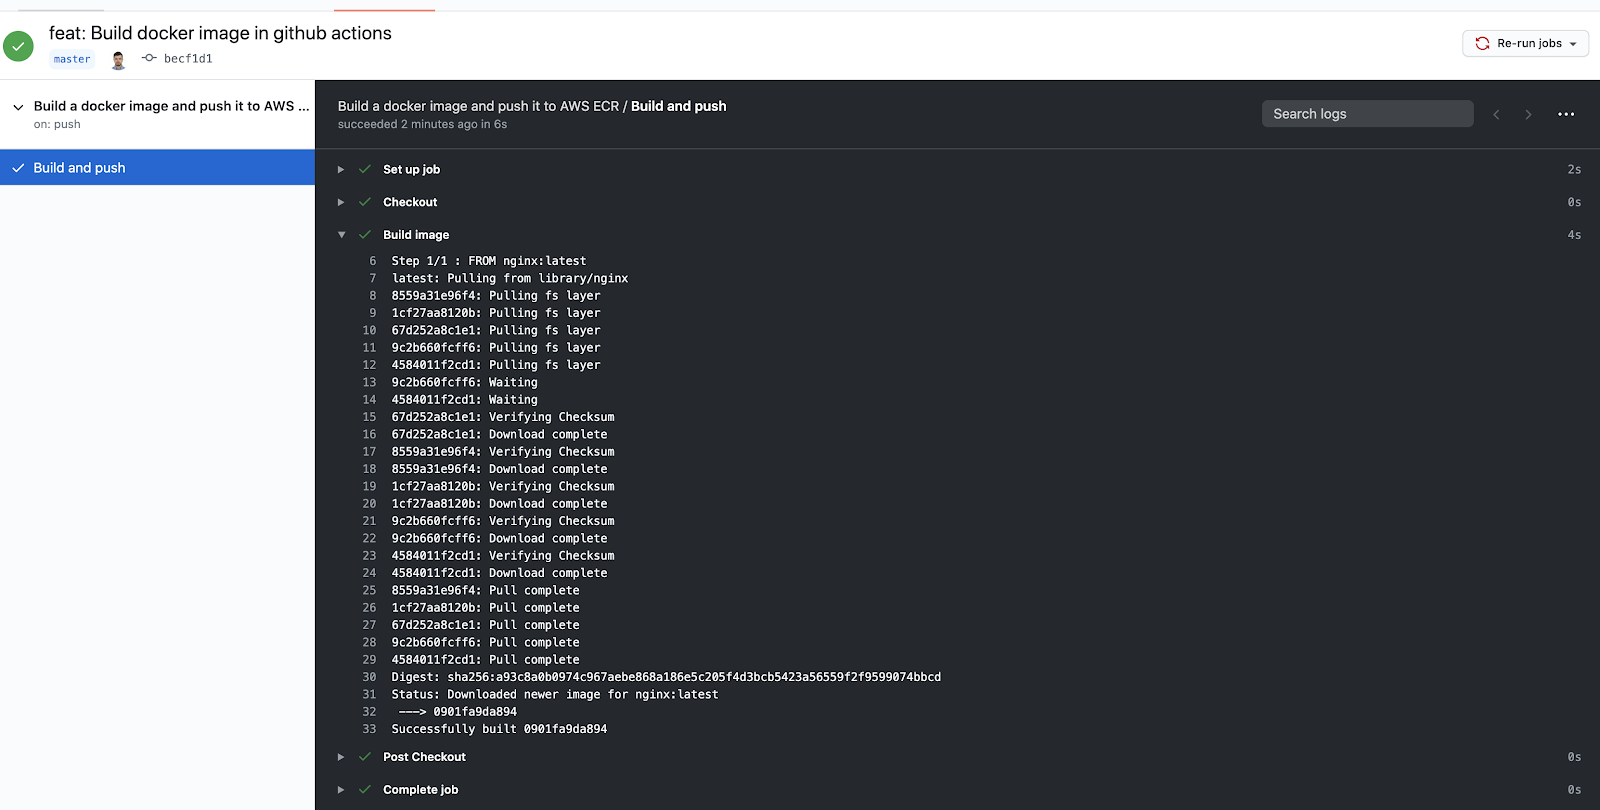
Congratulations! Now you know how to build an image in GitHub Actions.
### Create an AWS ECR repository to hold the images
You need to prepare your AWS account to hold the images that are being generated in GitHub Actions. The first step for this is to create the repository in ECR. This is just a matter of knowing which things to click on in Amazon’s UI.
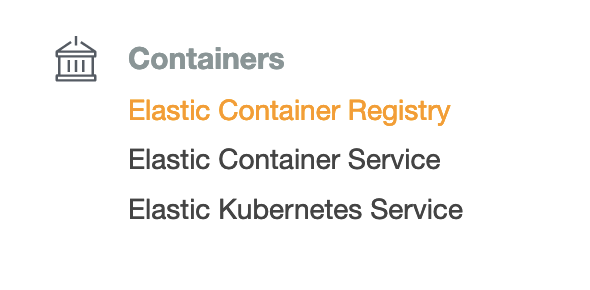
In the services tab of your AWS account, look for the `containers` section, and pick **Elastic Container Registry**:
Then on the left sidebar click **Repositories**. The service looks like this:
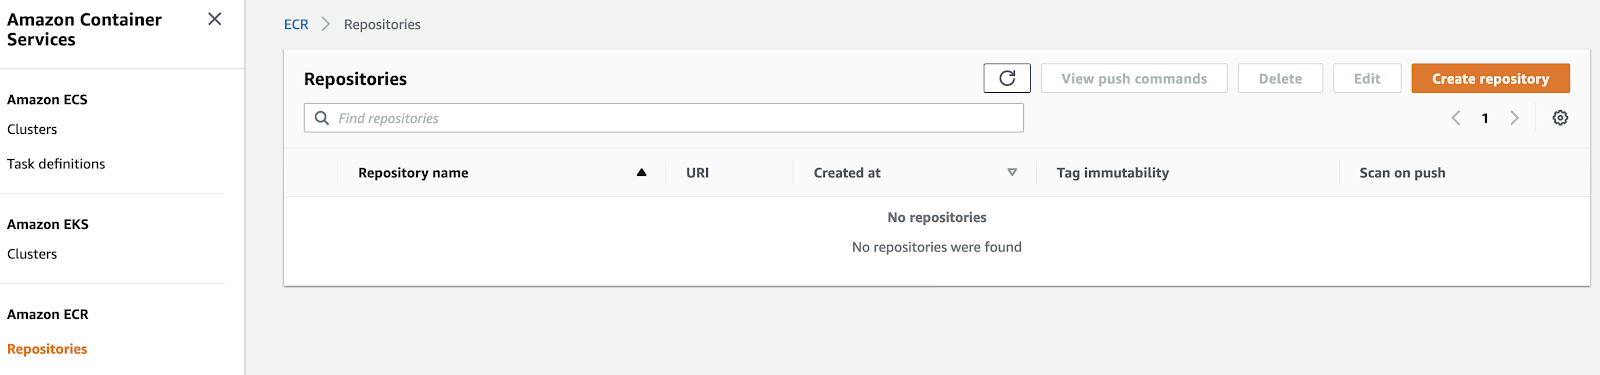
Just click on `create repository` and pick a name:
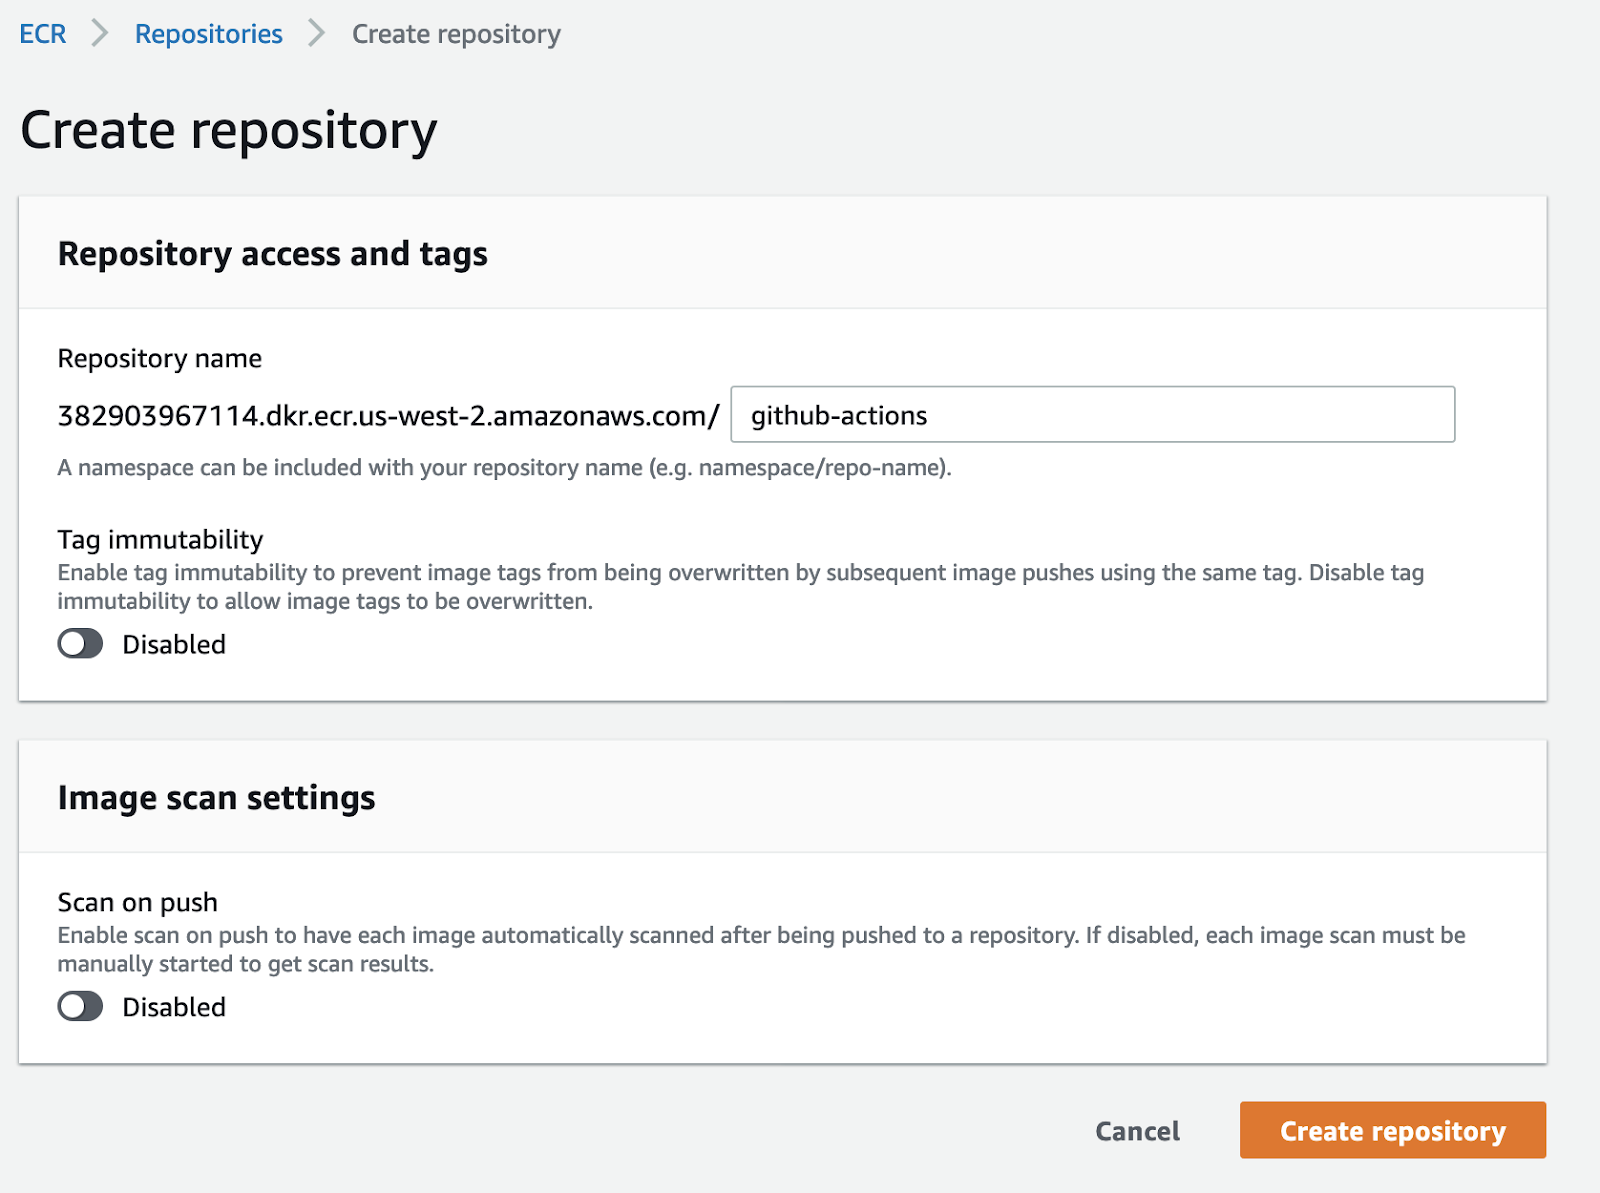
You can ignore the options you are offered for now. You should see something like this:
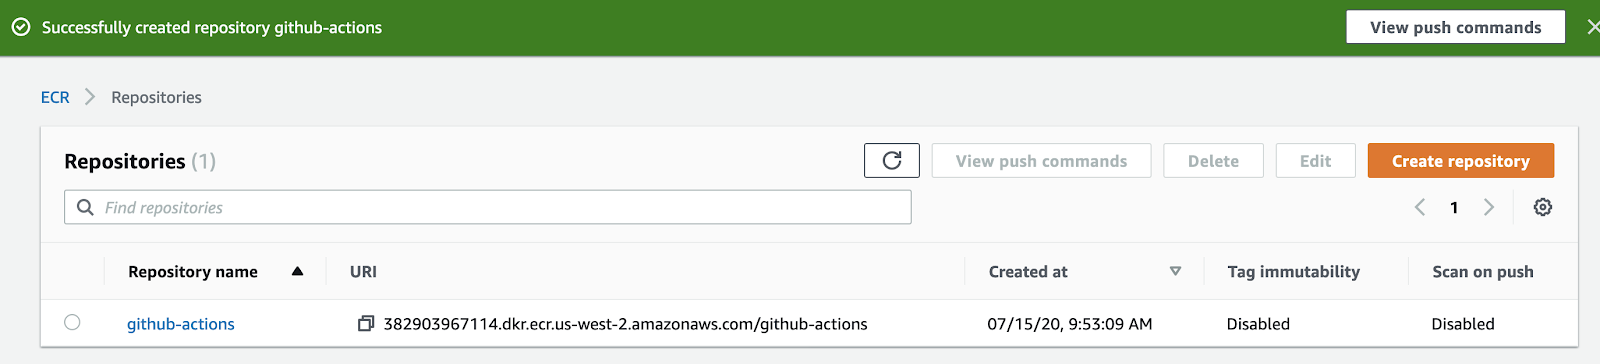
Take note of the `repository URL`. You will need it later.
Now you are ready to receive the images. To do this, you just need to enable a user.
Before you continue, we need to do something with the repository URI. It is structured in the following way:
```
<account_id>.dkr.ecr.<region>.amazonaws.com/<repository-name>
```
You will need to convert this to an [AWS ARN](https://docs.aws.amazon.com/general/latest/gr/aws-arns-and-namespaces.html). To do so, just change it to be like this:
```
arn:aws:ecr:<region>:<account_id>:repository/<repository-name>
```
In this case, this value looks like:
```
arn:aws:ecr:us-west-2:382903967114:repository/github-actions
```
Save this for later, we will need it soon when assigning permissions.
### Create an AWS user with permissions restricted specifically to ECR
This step is crucial. You don’t want a root account or a user with administrative permissions accessible in GitHub Actions -- that could lead to some nasty damage to your infrastructure, even if it's unintentional. Always try to follow [the principle of least privilege](https://en.wikipedia.org/wiki/Principle_of_least_privilege) when managing users in AWS. That is, you should always give users the minimum access and permissions required for them to work.
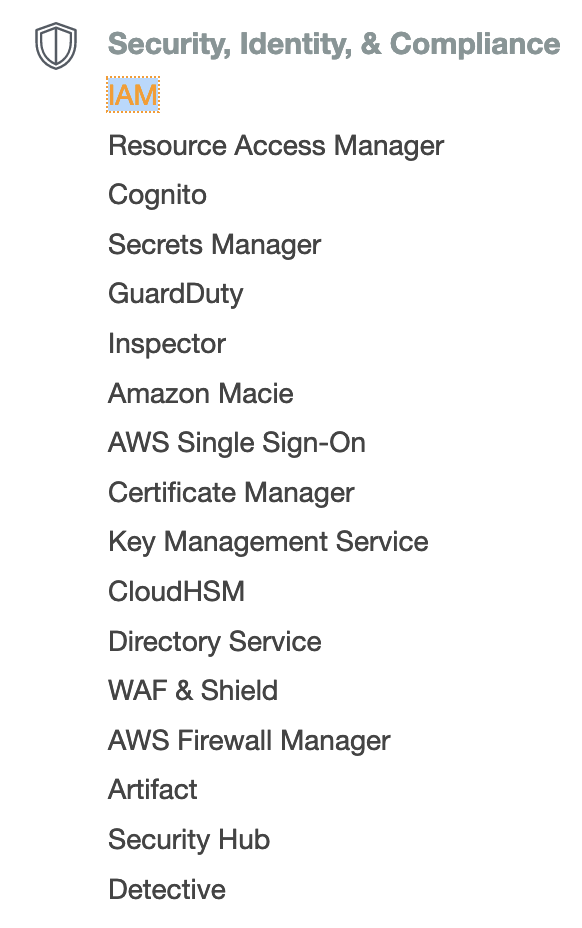
To create the user, you will need [AWS IAM](https://aws.amazon.com/iam/). In the services tab, look for the `Security, Identity & Compliance` section:
Once you have accessed the service, click `users` on the sidebar:
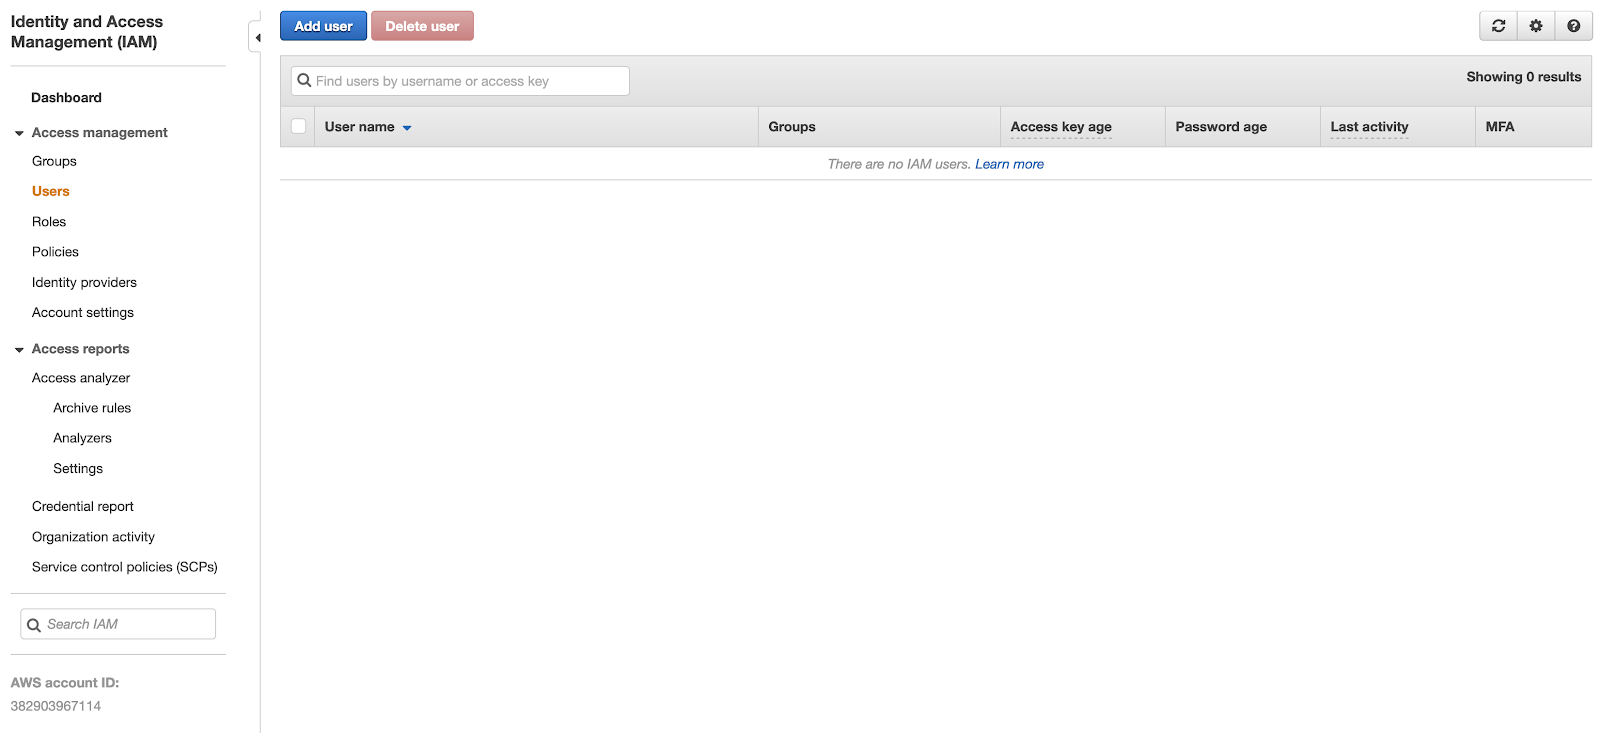
You may already have some users in your account if you have other services running. Click ‘Add user’. In this case, your user will not need to access the AWS console, so a password is unnecessary. Make sure that the user only has programmatic access:
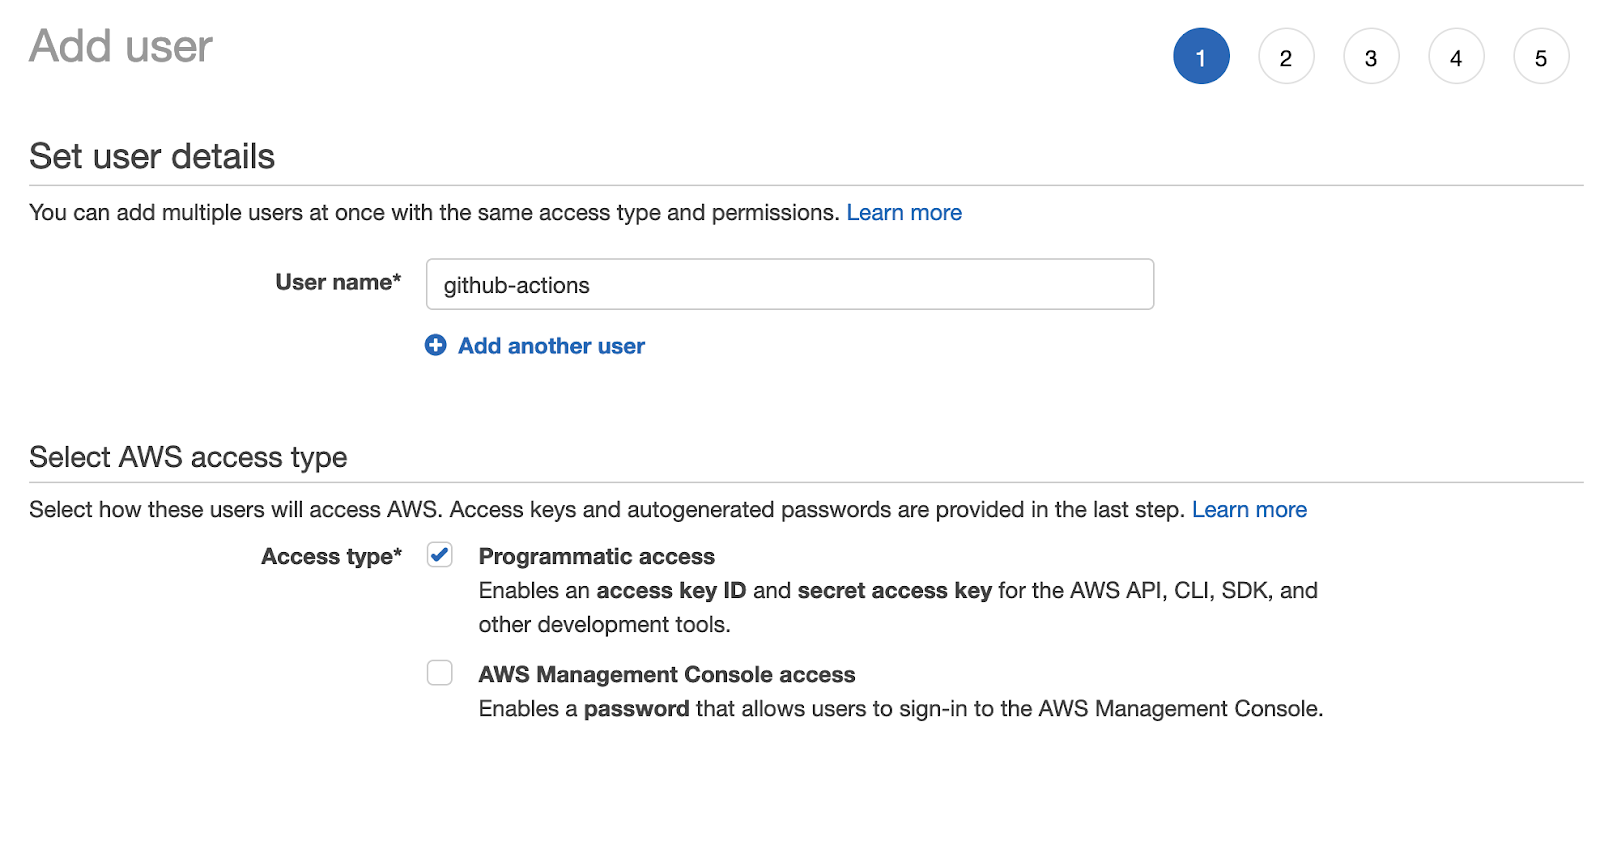
This means that the user will be able to access services to which it has permissions, but only via API.
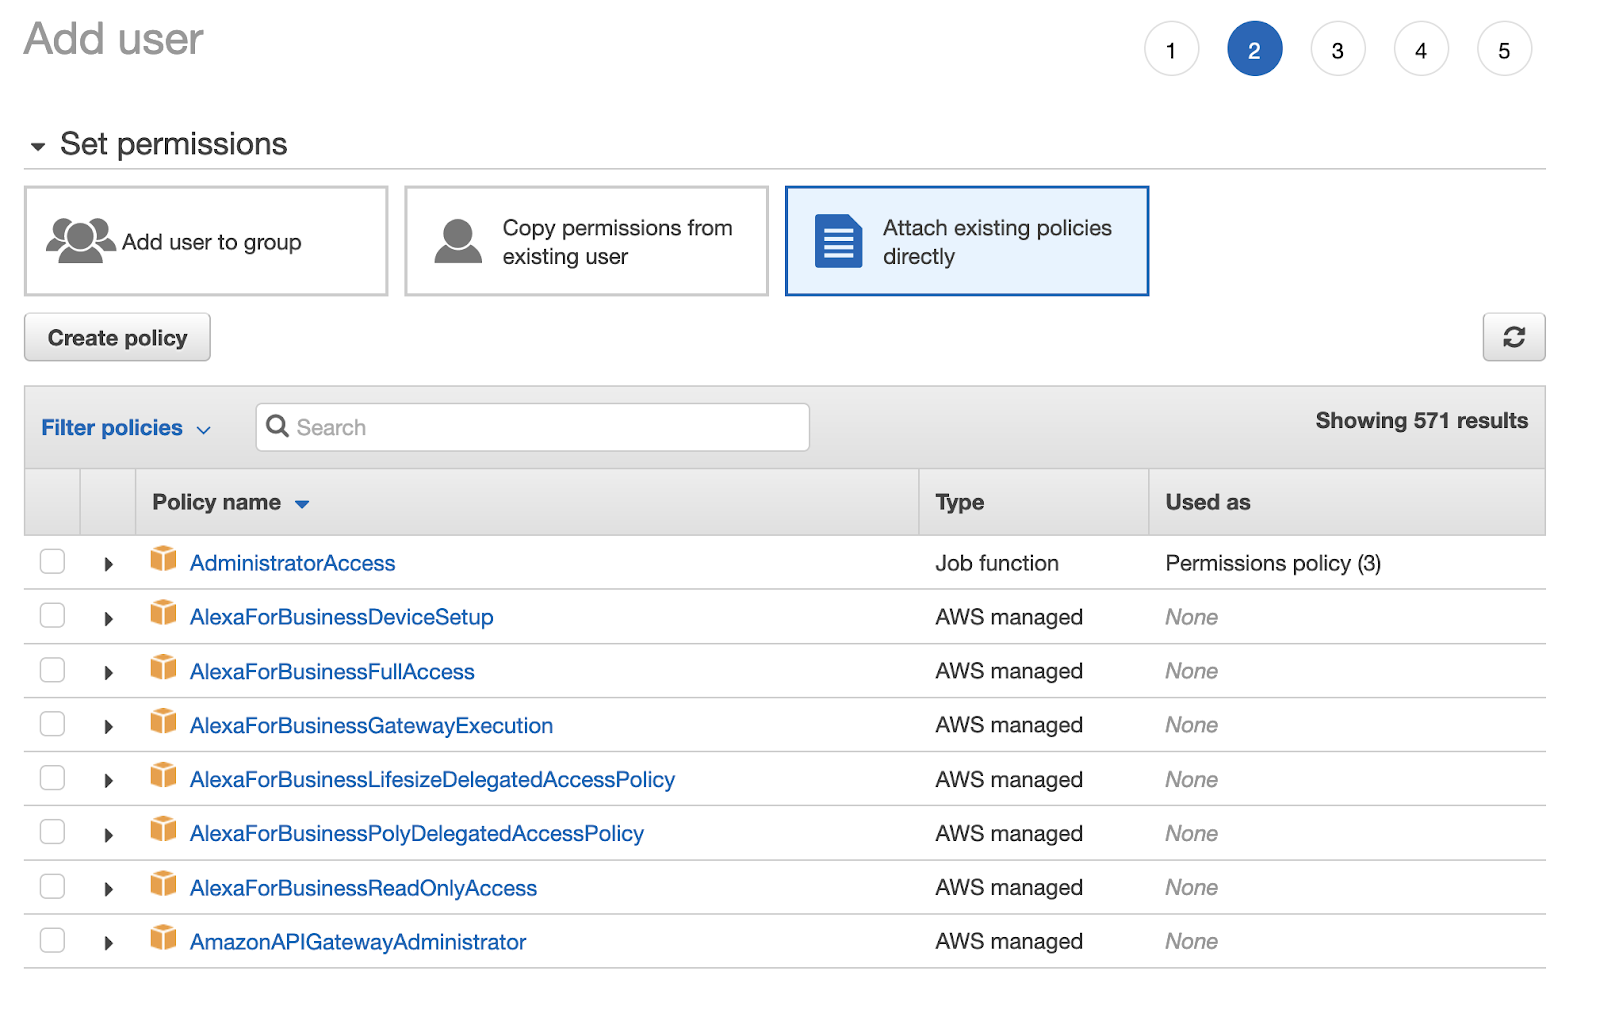
For the permissions, attach them directly for now. (You could create a group, add these permissions, and move the user to that group too, but attaching them directly is faster). You do this by selecting **Attach existing policies directly** in the **set permissions** options.
There is no default policy in AWS as specific as what you need, so create one. Click `create policy` and select JSON. You will be prompted to an editor. You will need to input the following policy, however you will need to put the ARN you got earlier for your repository in the **Resource** key:
```json
{
"Version": "2012-10-17",
"Statement": [
{
"Sid": "AuthToken",
"Effect": "Allow",
"Action": [
"ecr:GetAuthorizationToken"
],
"Resource": "*"
},
{
"Sid": "AllowECR",
"Effect": "Allow",
"Action": [
"ecr:GetDownloadUrlForLayer",
"ecr:BatchGetImage",
"ecr:BatchCheckLayerAvailability",
"ecr:PutImage",
"ecr:InitiateLayerUpload",
"ecr:UploadLayerPart",
"ecr:CompleteLayerUpload"
],
"Resource": "<your-repository-arn>"
}
]
}
```
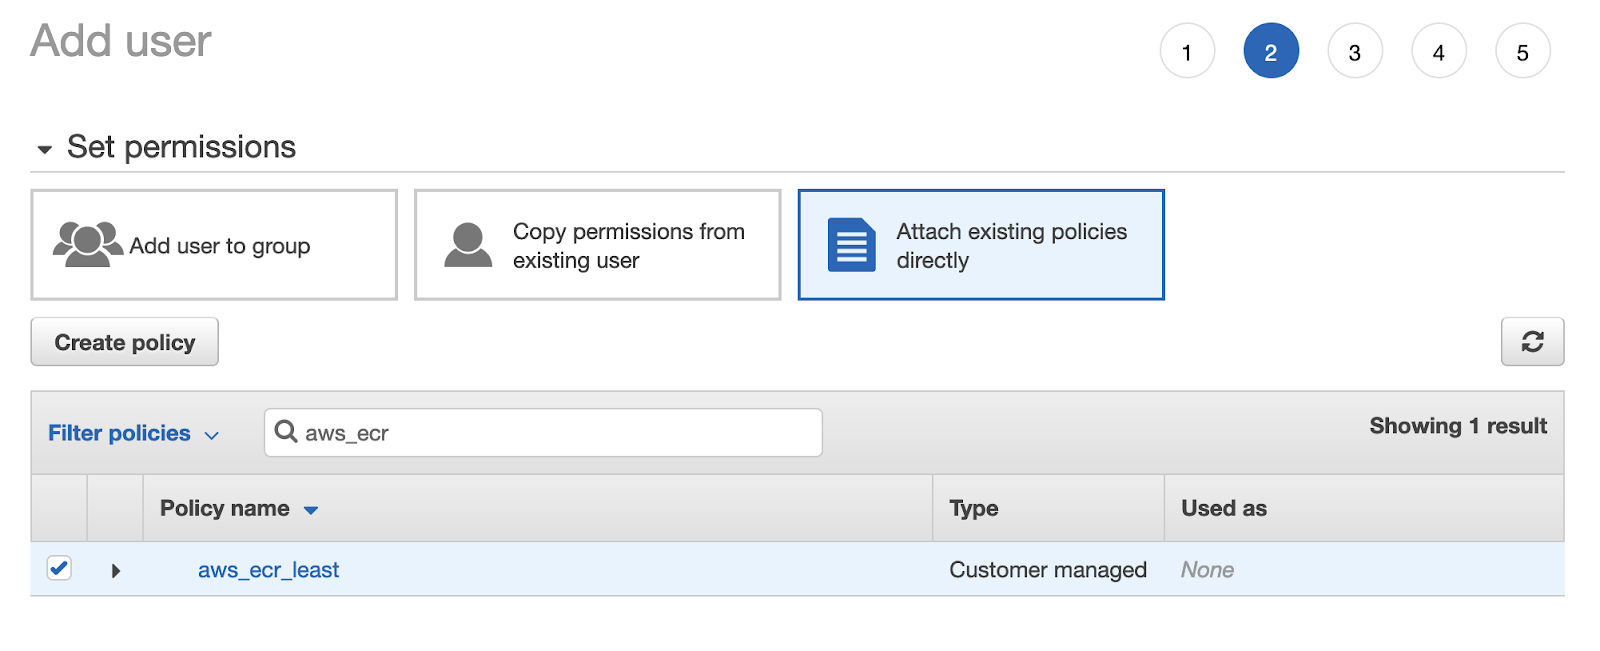
Click on `review policy`, give it a name and create it. Go back to the user-creating form, refresh it and pick the newly created policy from the list:
Continue to the tags. Add tags to the user if you want to and continue to `create user`.
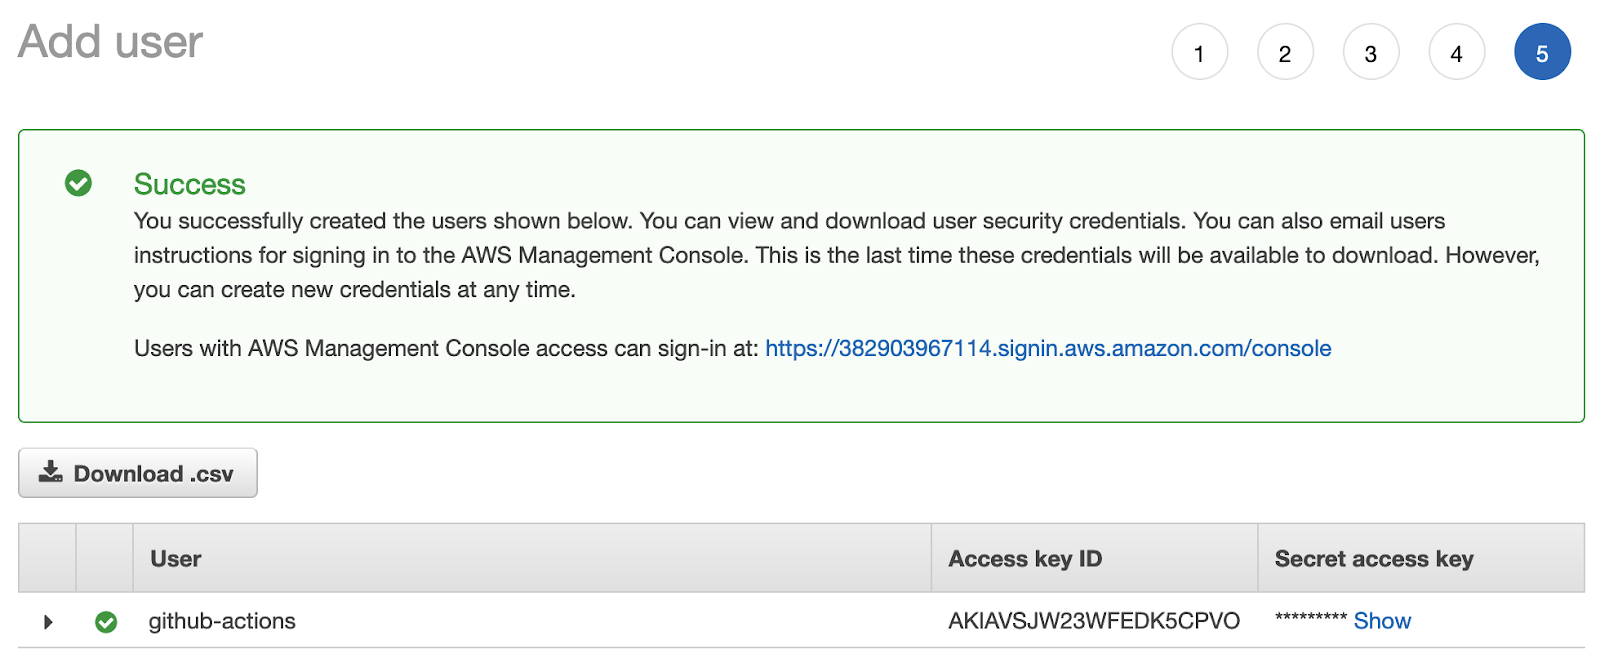
Download the credentials (and keep them secret). You’ll need to use them soon.
This is probably the most complicated step in the whole process, and it needs to be done well because you are exposing your AWS account to an external system. However, when this is ready, you can connect your two systems and get everything rolling.
### Connect Github Actions with AWS ECR
As it turns out, [Amazon has an official GitHub action](https://github.com/aws-actions/amazon-ecr-login) for this, so I’ll show you how to use it. But first, you need to store the AWS credentials in GitHub. **NEVER put them in a file in your repository**. [GitHub has a mechanism to safely store your credentials](https://docs.github.com/en/actions/configuring-and-managing-workflows/creating-and-storing-encrypted-secrets). Just go to repository settings and click `secrets` on the sidebar:

Add two entries: `AWS_ACCESS_KEY_ID` and `AWS_SECRET_ACCESS_KEY`:
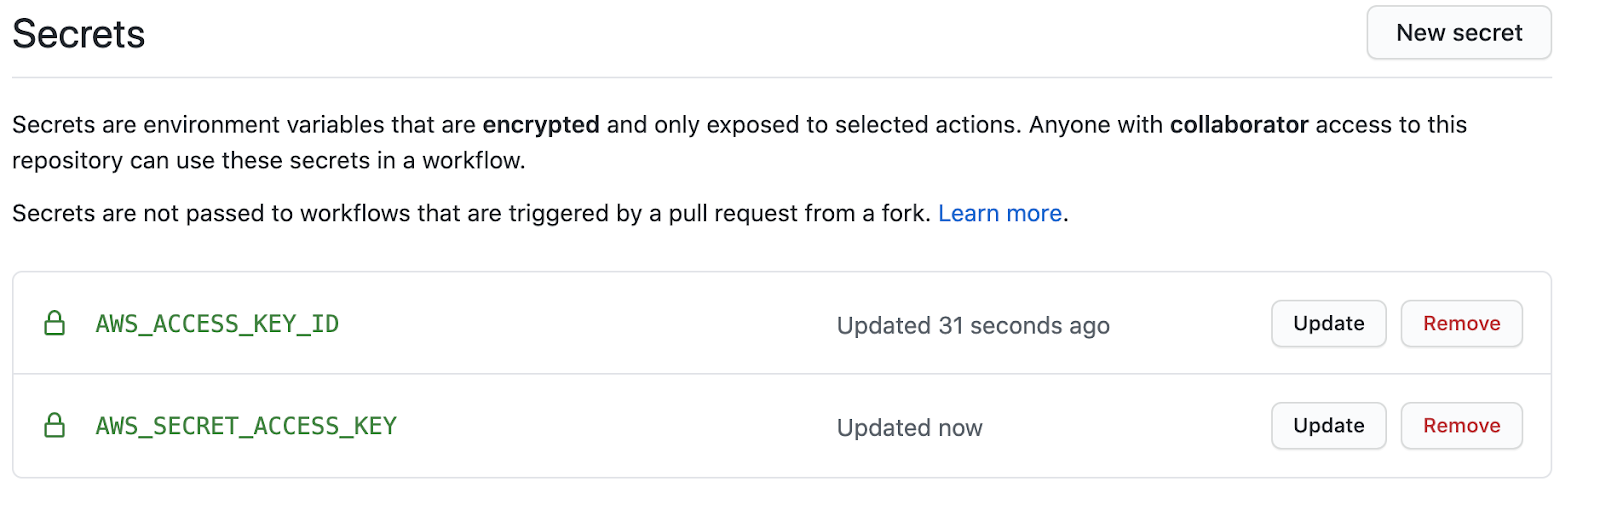
The values should correspond to the downloaded credentials for the user you created in the previous step. After doing this, you can safely use those secrets without exposing them in your repository code.
The first thing you will want to confirm is that the user can log in to AWS ECR. To do this, add a couple of steps to your pipeline:
```yaml
- name: Configure AWS credentials
uses: aws-actions/configure-aws-credentials@v1
with:
aws-access-key-id: ${{ secrets.AWS_ACCESS_KEY_ID }}
aws-secret-access-key: ${{ secrets.AWS_SECRET_ACCESS_KEY }}
aws-region: <aws-region>
- name: Login to Amazon ECR
id: login-ecr
uses: aws-actions/amazon-ecr-login@v1
```
Replace <aws-region> with the region where you created the ECR repository. In my case it was done on **us-west-2**. The current file looks like this:
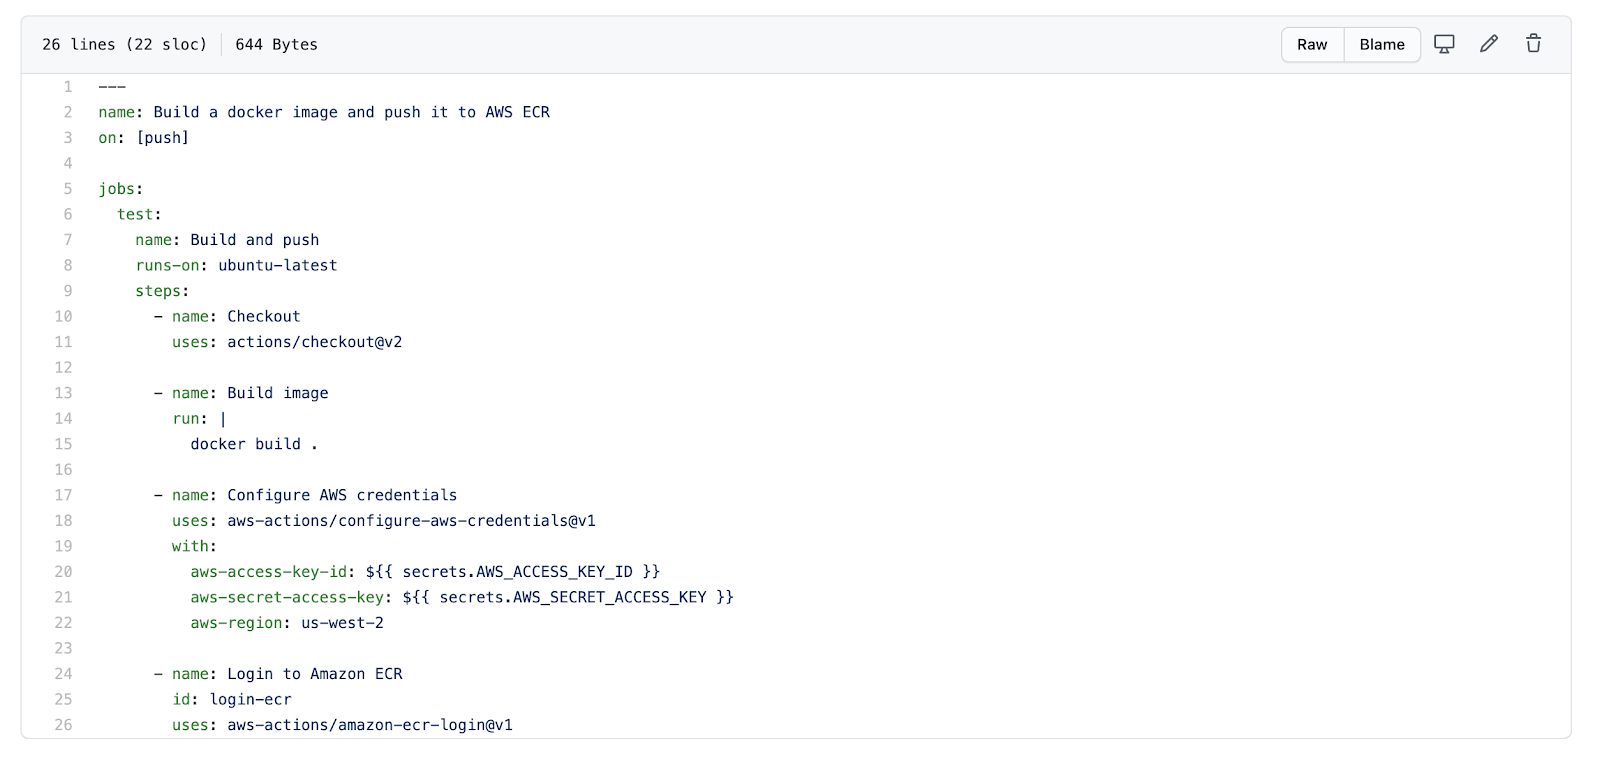
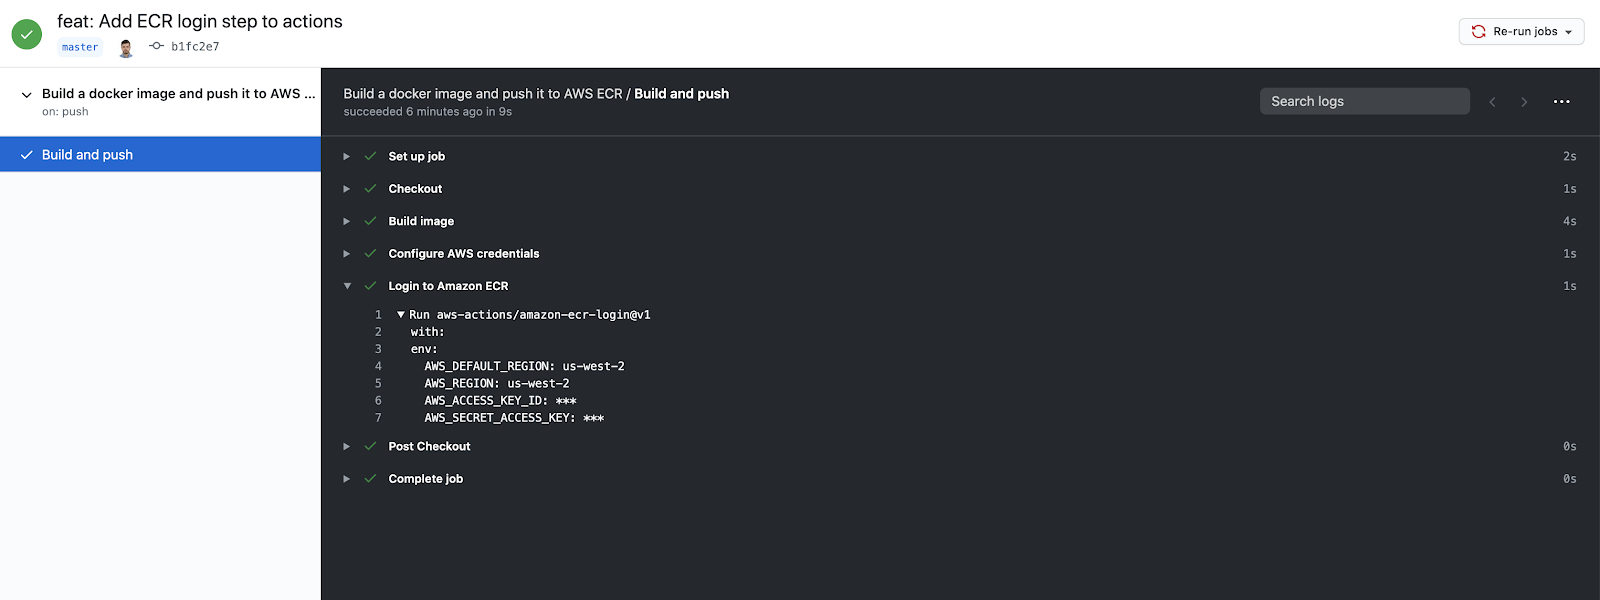
The workflow should be successful after running:
Now, the next step is to finish the connection and actually send an image to the ECR repository. You can do this by adding a couple more steps. My version will differ from yours, because there are details that are different, like the region, and the ECR repository, so be careful with just copy-pasting. My final version will look like this:
```yaml
---
name: Testing and Linting
on: [push]
jobs:
test:
name: Lint and build
runs-on: ubuntu-latest
steps:
- name: Checkout
uses: actions/checkout@v2
- name: Configure AWS credentials
uses: aws-actions/configure-aws-credentials@v1
with:
aws-access-key-id: ${{ secrets.AWS_ACCESS_KEY_ID }}
aws-secret-access-key: ${{ secrets.AWS_SECRET_ACCESS_KEY }}
aws-region: us-west-2
- name: Login to Amazon ECR
id: login-ecr
uses: aws-actions/amazon-ecr-login@v1
- name: Build, tag, and push image to amazon ECR
env:
ECR_REGISTRY: ${{ steps.login-ecr.outputs.registry }}
ECR_REPOSITORY: github-actions
IMAGE_TAG: ${{ github.sha }}
run: |
docker build -t $ECR_REGISTRY/$ECR_REPOSITORY .
docker push $ECR_REGISTRY/$ECR_REPOSITORY
docker tag $ECR_REGISTRY/$ECR_REPOSITORY $ECR_REGISTRY/$ECR_REPOSITORY:$IMAGE_TAG
docker push $ECR_REGISTRY/$ECR_REPOSITORY:$IMAGE_TAG
- name: Logout of amazon ECR
if: always()
run: docker logout ${{ steps.login-ecr.outputs.registry }}
```
As you can see, the build step was replaced. The registry is retrieved from the login action, and a variable named `IMAGE_TAG` that corresponds to the current commit hash is set. The idea is to have the image tagged with that hash.
After you push, and the GitHub Actions workflow is successful, you can confirm that the image was uploaded by checking the AWS ECR console:
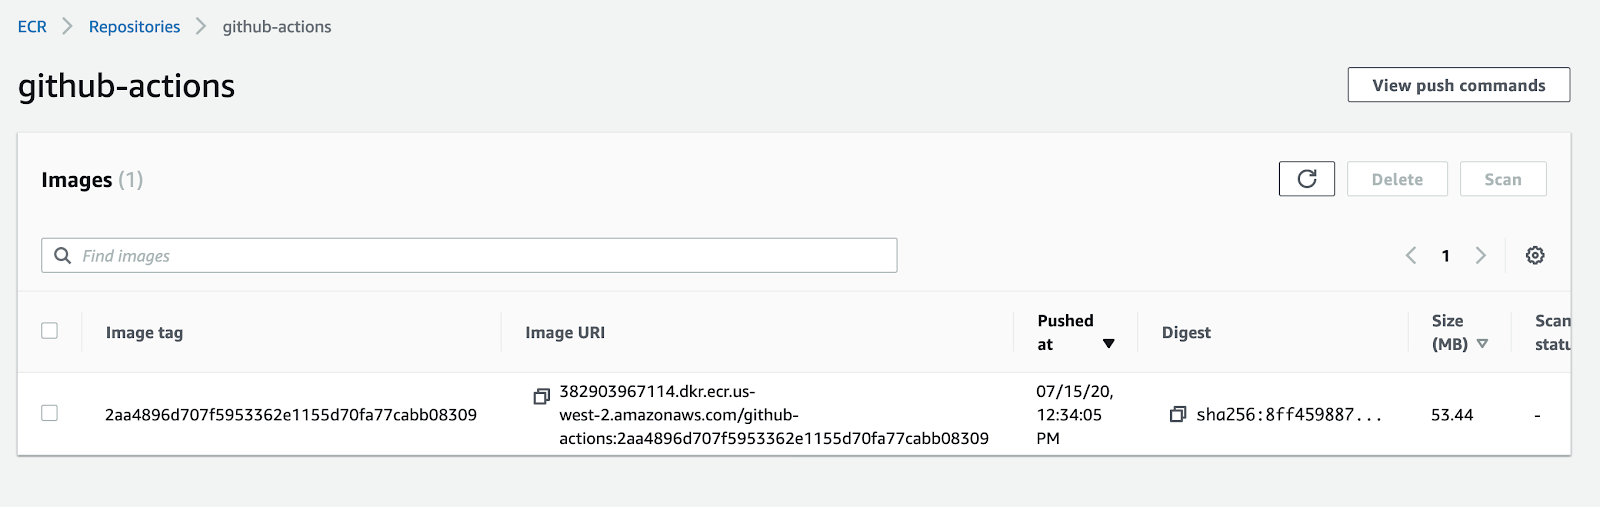
Now, every time you push, the image will be pushed too. There is a caveat: for every push, if the image didn’t change, your image will be tagged again. You can end up with a single image with thousands of tags. This may or may not be useful depending on your use case, but it’s important to be aware of this feature.
### Selectively tag and send the container builds to AWS ECR
To finish this post, you’ll restrict the uploading of images to a different event: releases. It's common practice to release artifacts only when a new release is out (with the artifact in this case being the image) and to use the version number as a tag. Given this use case, the workflow can be refactored to follow this practice.
The simplest way to do this is to change the workflow trigger:
```
name: Build a docker image and push it to AWS ECR
on:
release:
types: [published]
```
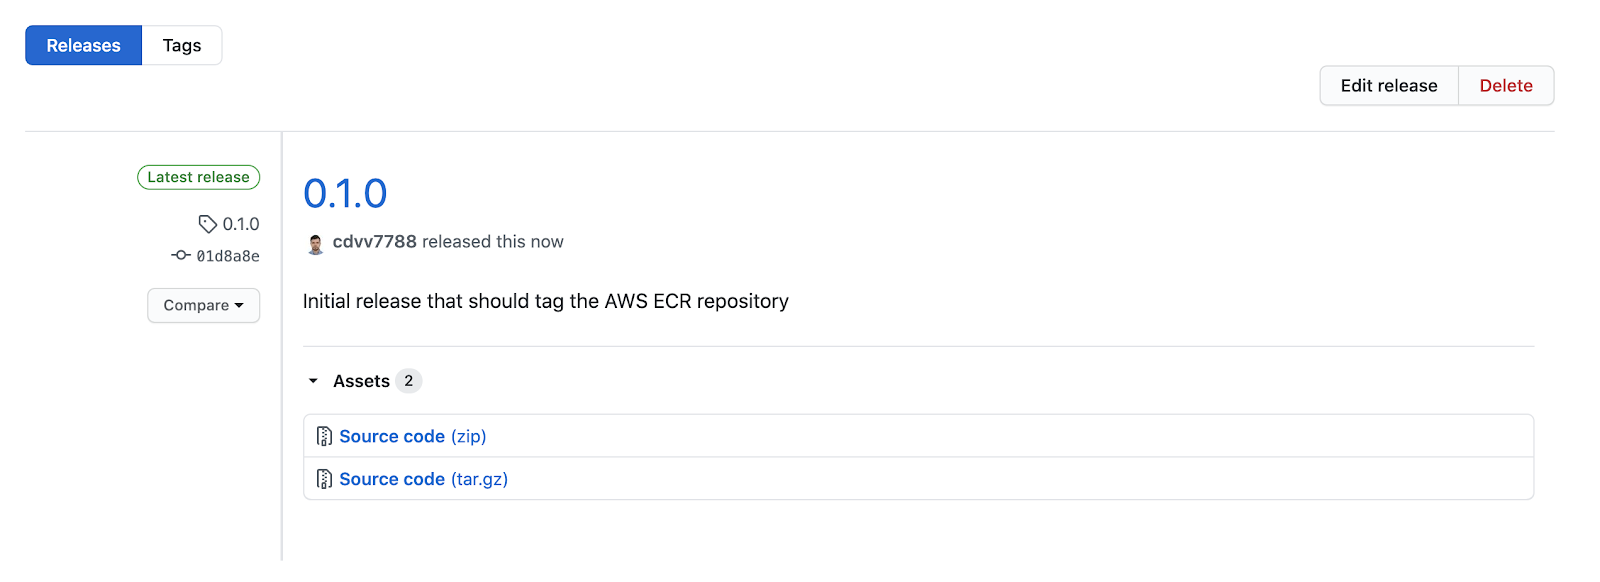
If you push this change, you’ll notice your action will not run. You can create a release to check that it’s triggered as expected. In GitHub:
Now, checking Github Actions:

This is great: you are automatically publishing new releases to your private registry. However, the tagging process can be enhanced. Rather than using the commit hash for tagging, it’s best to use the version of the release. To do this you need to modify the `IMAGE_TAG` variable a little:
```yaml
- name: Extract tag
shell: bash
run: echo "##[set-output name=release_tag;]$(echo ${GITHUB_REF#refs/tags/})"
id: extract_tag
- name: Build, tag, and push image to amazon ECR
env:
ECR_REGISTRY: ${{ steps.login-ecr.outputs.registry }}
ECR_REPOSITORY: github-actions
IMAGE_TAG: ${{ steps.extract_tag.outputs.release_tag }}
run:...
```
Add an [extra step to extract the tag](https://stackoverflow.com/a/58035262/3509554) and then put it in IMAGE_TAG. The rest of the process is the same.
In my repository, the final version is `0.3.0`. After creating this release, that tag is present in the AWS ECR image:
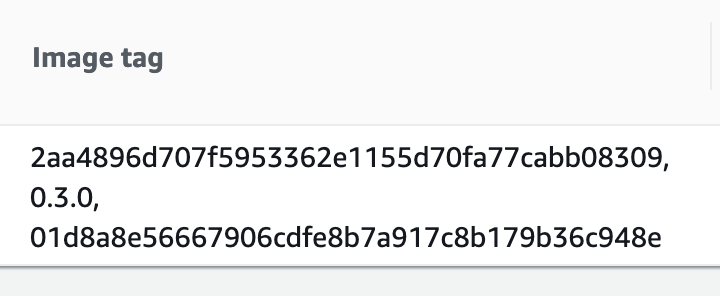
And...there it is!
## Conclusion
With this setup, both the GitHub Actions and AWS ECR services are managed so you don’t need to install any software on a server (or do any maintenance). You can just set this up once and forget about it!
This post focused on the step of generating an artifact (docker image) and pushing it to a private repository. This covers the end of your CI workflow, and the beginning of the CD workflow. You can compliment it by finishing both ends.
A complete CI workflow will need you to run your tests, linters and additional checks you have in place (that is specific to your project). If any of those fail, the image should not be built, because there may be something wrong with that version.
After you have your images in the private repository, you can try using CodePipeline to create a working CD flow. You can, for example, listen to the new image event in your repository and trigger a Kubernetes deployment using EKS. That is a topic for another blog post.
A big plus of this approach is that GitHub has no access to your infrastructure -- all it can do is upload new images. This means you have a reduced surface of attack for possible vulnerabilities. And, you can deploy however you want -- it won’t affect the CI workflow you’ve configured here.
With the information in this post, you should be able to set up a significant bit of CI/CD workflow. Extra improvements to it can easily be made:
- Add a [hadolint](https://github.com/hadolint/hadolint) check to find any issues on your Dockerfile
- Enable image scans on AWS ECR
- Set up triggers to respond to AWS ECR changes using [AWS CodePipeline](https://aws.amazon.com/codepipeline/)
If you created resources on amazon for this exercise and don’t intend to keep them in that account, remember to remove them.. They can lead to additional charges in your account.
If you have any suggestions for how to improve this workflow, please leave a comment!
You can read the second part of this post [here](https://monadical.com/posts/set-up-ci-workflow-part-two.html).
---
<center>
<img src="https://monadical.com/static/logo-black.png" style="height: 80px"/><br/>
Monadical.com | Full-Stack Consultancy
*We build software that outlasts us*
</center>